Let clients book you online
Switch on your bookings page in Settings → Bookings page, share the link, and approve the requests that come in.
Your bookings page is a public web page where clients pick a service, a day and a free time, then send you a request. Each request lands in your calendar for you to approve or decline.
Before you start
Online booking is available on Solo and up. Solo gives you one booking page, Solo Pro two, Professional five and Business as many as you like.
Set your working hours first (Settings → Calendar, under Working Hours). The page only offers times inside them, so with no working days switched on there's nothing to book.
Clients choose from the kinds of work you've set in Settings → Services. To show a price, add a service with a price in Services & Products.
Switch on your bookings page
- 1Open Settings from the left sidebar and, under Scheduling, choose Bookings page.
- 2Turn on Accept Public Bookings. It now says “Bookings page is live”.
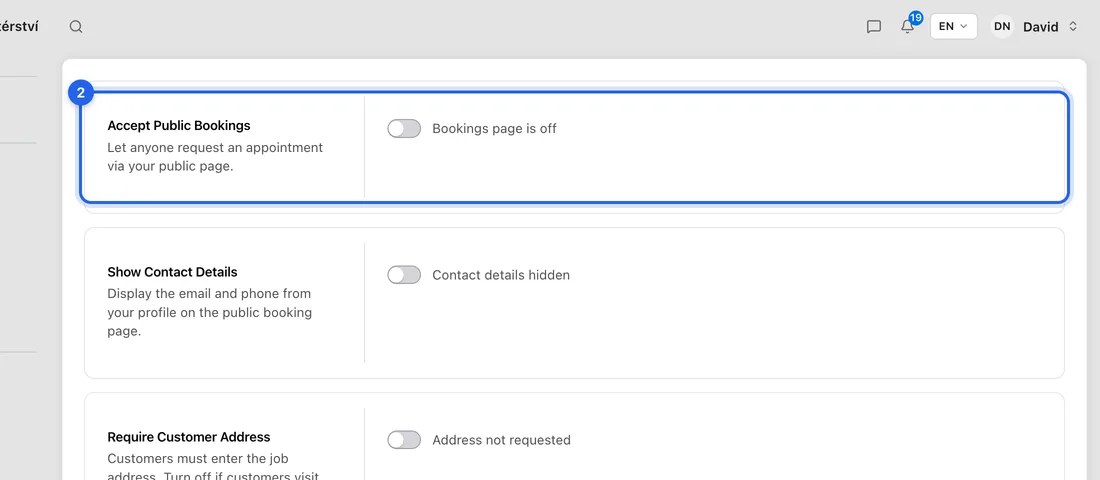
- 3Under Slot Length, pick how long a booking lasts by default, e.g. 1 hour. Under Per-service Duration you can give a service its own length.
- 4Set Buffer Between Bookings, e.g. 30 minutes, to keep time free between jobs for travel.
- 5Set Minimum Notice, e.g. 1 day, so nobody can book you for later today.
- 6Turn Require Customer Address off if clients come to you. Turn Show Contact Details on if you want your email and phone on the page.
- 7Click Save changes at the bottom right. You'll see “Booking settings saved”.
Share your link
- 1On the same page, find Public URL. Under Booking page you'll see your link, ending /book/your-business-name.
- 2Click the copy button next to it (you'll see “Booking URL copied”) and paste it into your website, emails or social profiles.
- 3Click the open button beside it to see the page the way your clients do.
The link is made from your business name. For a different one, click Request URL change. An admin reviews it.
What happens next
A client opens your link, picks a service, a day and a time, fills in their details and clicks Request this time. They're told you'll confirm by email.
You get a notification, and the request appears in your calendar as a pending entry. In the calendar's left panel, under Pending requests, click Approve or Decline. The client gets an email either way.
The page only offers times that are free: inside your working hours, clear of your other entries, time off and (if you don't work them) public holidays, with your buffer and minimum notice applied.
More than one booking page
On Solo Pro and up you can add more pages, each with its own link, services, hours, length and deposit, e.g. one per team member. Scroll to Booking Pages, click Add a booking page, fill it in and click Save page. Your main link then lists all your pages.
If something doesn't work
Clients see “No times available.”: check your working hours are set and saved, and that Minimum Notice isn't pushing everything past the days on show. A day full of entries or time off has no free times either.
Clients see “Booking page not found”: Accept Public Bookings is off, your link is still “Awaiting admin approval”, or your plan doesn't include online booking (it isn't on Free).
The open button is greyed out with “Enable bookings to visit this URL”: turn on Accept Public Bookings and save.
The service list is empty: add the kinds of work you do in Settings → Services.