Change how your invoice looks
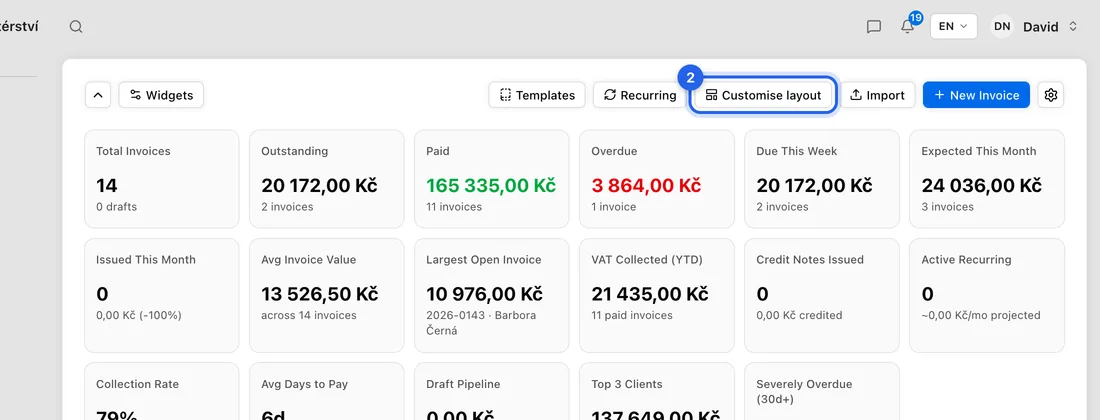
On Invoices, click Customise layout. Drag the blocks into the rows and order you want, click a block to style it, then Save.
The Invoice Builder decides what your invoice PDF looks like: which blocks appear (your details, the client, the items table, totals, payment details and so on), in which rows and how wide, and the colours. It works on every plan.
Open the builder
- 1Click Invoices in the left sidebar.
- 2Click Customise layout at the top of the page. The Invoice Builder opens with a preview filled with sample data.
Arrange the blocks
- 1Hover over a block and drag the round handle on its left edge. Drop it elsewhere in the same row, or in another row.
- 2To move a whole row, drag the handle at the row's left.
- 3Need a new row? Click Add row and choose where it goes: At the top, At the bottom, or below an existing row.
- 4To add a block to a row, click the small + on that row and pick it from the list.
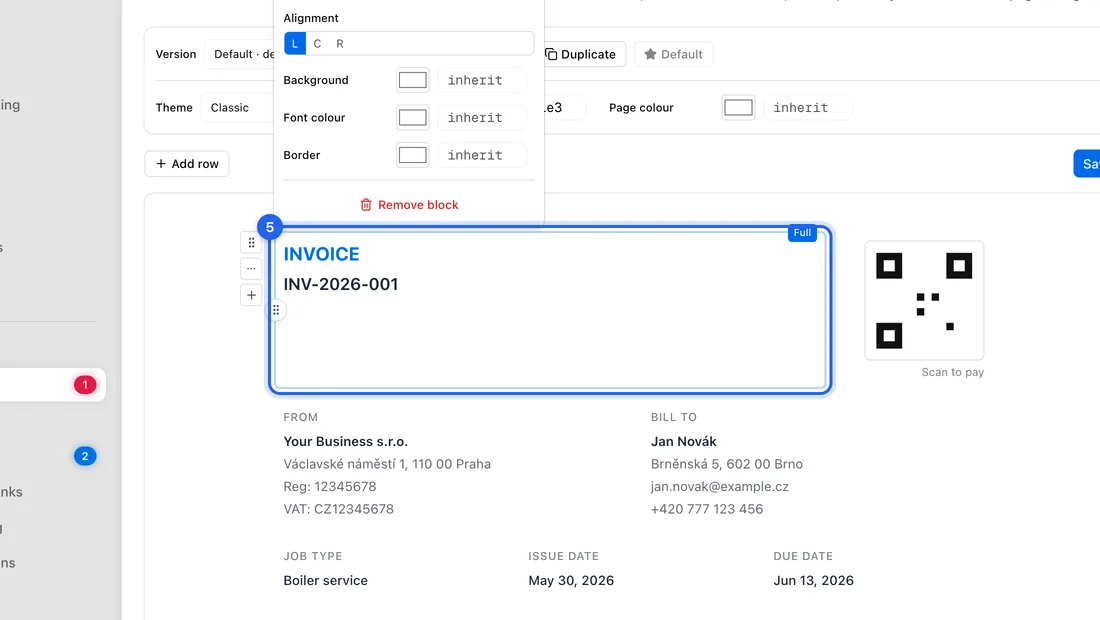
- 5Click a block to style it: Width, Alignment, Background, Font colour and Border. For the items table there are also Table colours and Column alignment. Click Remove block there to take it off.
Colours and saving
- 1At the top, choose a Theme and set the Accent and Page colour.
- 2Click Save. You'll see “Invoice layouts saved”.
More than one layout
To keep a second look, for example one for business clients, click Duplicate at the top, rename the copy in the box next to Version and change it. Make default makes the version you're on the one new invoices use.
With two or more layouts, the New Invoice form shows an Invoice Layout section where you pick the layout for that invoice.
What happens next
Changes apply to invoices you create from now on. Invoices you've already made keep the layout they were made with.
Quotes have their own builder that works the same way: on Quotes, click Customise layout.
Your logo isn't set here: add it in Settings → Business (see Add your logo and brand your invoices).
If something doesn't work
Save is greyed out and a yellow bar says “Required blocks removed — add them back to save:”: every invoice must show your details, the client's details, the items and the totals. Click the block's name in the yellow bar to put it back.
“All one-off blocks are already used.” when adding a block: each of those blocks can appear only once, and they're all on the page already.
“Failed to save layouts”: nothing was saved. Check your connection and click Save again.