Track time on a job
Click Start Work (or Start Travel) at the top of a job and Stop Work when you're done. When you create the job's invoice, the unbilled time is added at your hourly rate. Solo and up.
A job has two timers: one for work and one for travel. Start one when you begin, stop it when you finish, and the time is saved on the job. When you invoice the job, the time goes on the invoice for you.
Available on Solo and up.
Before you start
Set your rates under Settings → Invoicing → Default Rates: turn on Use default rates on invoices and fill in Hourly Rate and, if you charge for it, Travel Rate (per hour). There's one hourly rate for all work.
Don't travel to clients? Turn off Enable travel time under Settings → Calendar. The travel timer then disappears.
The job needs a client, and it can't be in the Potential column. Move it to Upcoming first.
Time a job
- 1Open the job from Jobs.
- 2Click Start Work at the top of the page (or Start Travel on your way there). You'll see “Work timer started”.
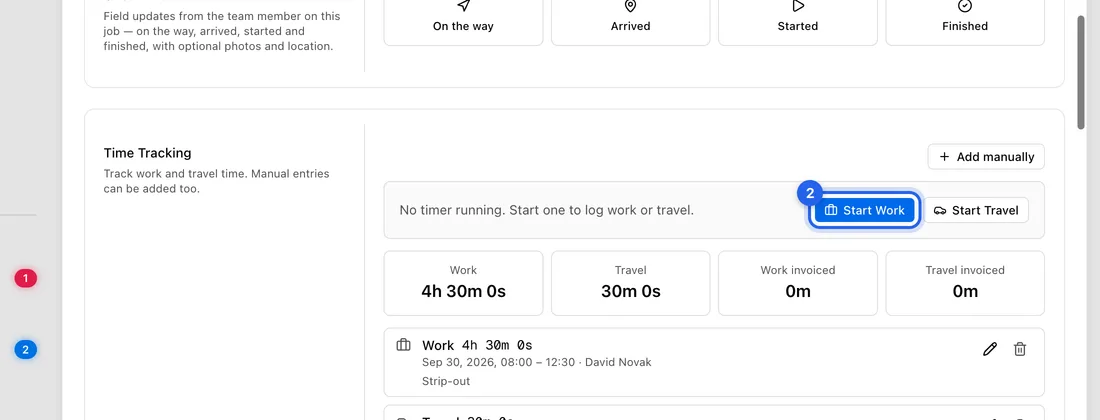
- 3The running time shows at the top of every page, so you can pause or stop it from anywhere.
- 4Taking a break? Click Pause, in the Time Tracking section of the job or on the timer at the top. To carry on, click Resume Work. Each stretch is saved as its own session.
- 5When you're done, click Stop Work. You'll see “Work timer stopped”.
Forgot to start the timer?
- 1On the job, scroll to Time Tracking and click Add manually.
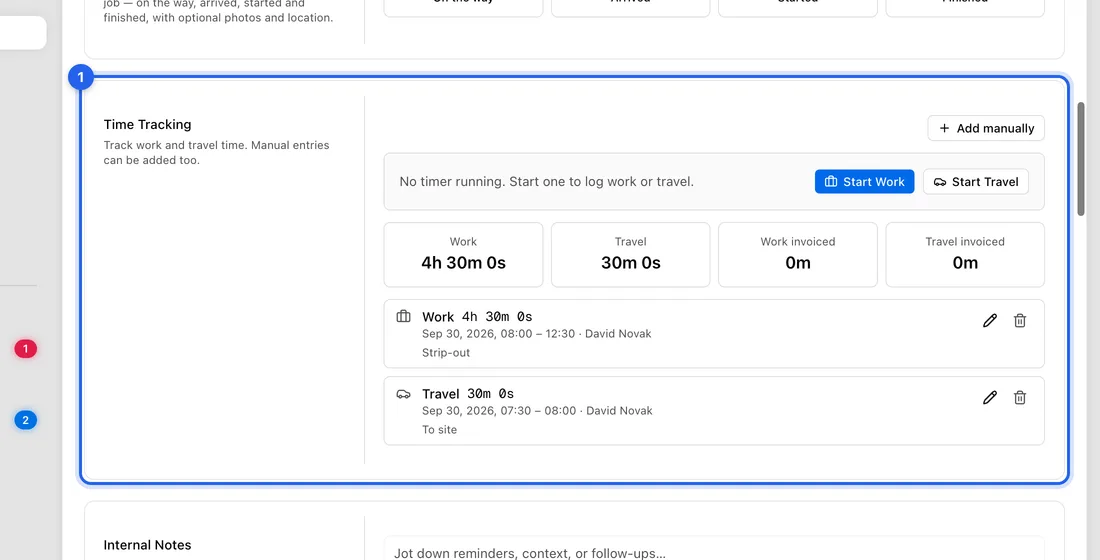
- 2Choose the Kind (Work or Travel) and set the Start and End.
- 3Untick Billable if the client shouldn't pay for this time. Add a Description if you like.
- 4Click Save. You'll see “Time entry added”.
How the time lands on an invoice
Create the invoice from the job, for example with Create Invoice in the job card's right-click menu. All billable time that isn't invoiced yet is added at your rates.
By default all sessions become one Labour line, plus one Travel line. To list each session with its date and note instead, choose Itemised under Settings → Invoicing → Time Billing Mode. You can also switch it for one invoice under Time Billing Mode on the invoice form.
Invoiced sessions are marked Invoiced on the job, so they aren't billed twice. An invoice started from the Invoices page without the job doesn't pick up any time.
Good to know
You can only run one timer at a time. Starting one on another job stops the one that's running.
Time is counted to the minute. It isn't rounded up to quarter hours.
Time Tracking in the left sidebar shows what's running, this week's hours and unbilled time for each job.
If something doesn't work
There's no Start Work button: the job is in Potential, or it has no client. Move it to Upcoming, or add a client.
“feature_not_in_plan” when you click Start Work: time tracking needs Solo or higher. Upgrade under Settings → Billing & plan.
The invoice has no Labour line: it wasn't created from the job, the time was marked non-billable, or it's already on another invoice. Or no Hourly Rate is set: without a rate, no Labour line is added.
You don't see the running timer at the top: it's hidden on narrow phone screens. Open the job to stop it.