Set an expense to repeat
Rent, insurance and subscriptions can record themselves on schedule. Pause them without deleting, and keep the contract with them.
For a cost that comes round regularly, such as rent, insurance or a software subscription, record it once and switch on This expense repeats. The app then adds the same expense for you on schedule.
Example: workshop rent of 8 000 Kč on the 1st of every month. Record it on 1 March with Every 1 months, and an 8 000 Kč expense appears on 1 April, 1 May and so on.
Before you start
Recurring expenses are on every plan.
Set one up
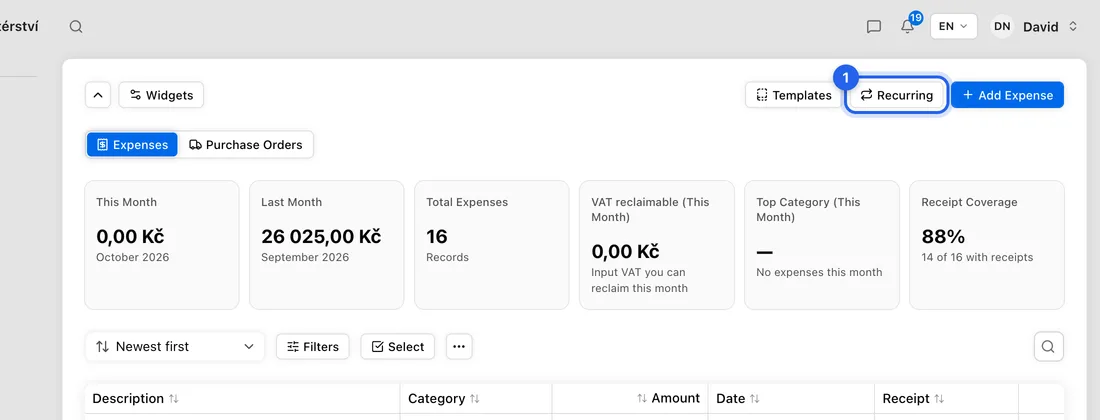
- 1Click Expenses in the left sidebar, then click Recurring at the top right, then New Recurring Expense. (Or just click Add Expense; it's the same form.)
- 2Upload this month's invoice or receipt, or click Skip for now →.
- 3Fill in Category, Description, Amount, and Supplier and Document number if there are any, just like a normal expense.
- 4Set Date to the day it's due. It will repeat on that same day.
- 5Under Repeats, switch on This expense repeats.
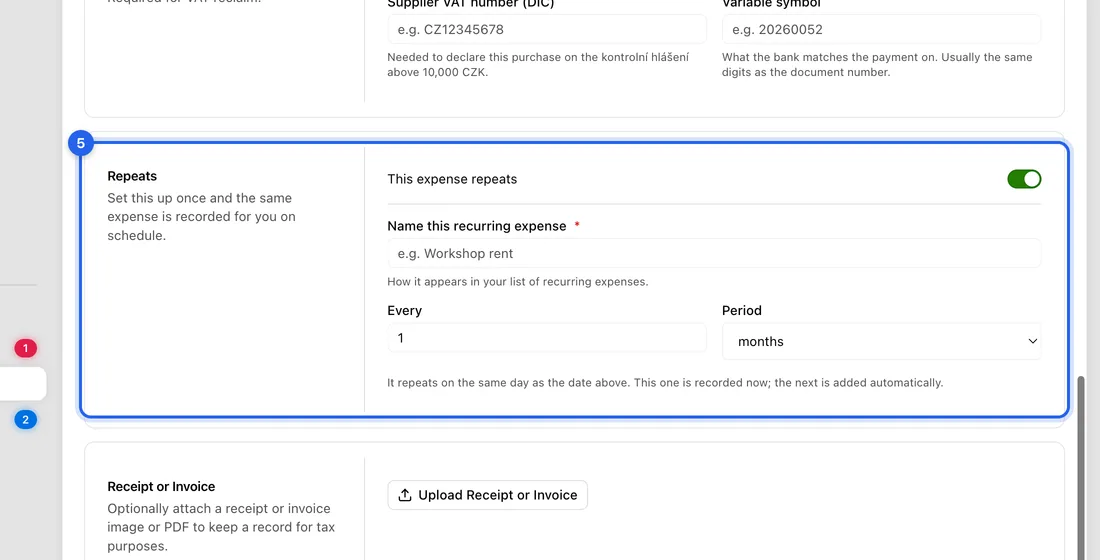
- 6In Name this recurring expense, type a name you'll recognise, e.g. Workshop rent.
- 7Set Every and Period, e.g. 1 and months.
- 8Click Add Expense. You'll see “Expense added and set to repeat.” This first one is recorded now; the next is added automatically.
New expenses are added early each morning on the day they're due. Each one is an ordinary expense, so attach that month's receipt or invoice to it for your records.
Pause, edit or delete
- 1Go to Expenses → Recurring. The list shows each one's Name, Category, Schedule, Amount, Next run and Agreement.
- 2Point at the row and click the ⋯ button at the right end.
- 3Choose Pause to stop it for now. The row is marked Paused. Choose Resume later to start again; it carries on from the next due date and doesn't add the ones you missed while it was paused.
- 4Choose Edit to change the amount, schedule or details, then click Save Changes. Duplicate makes a copy; Delete removes it, and you can click Undo in the message that appears.
Keep the contract with it
- 1Open the recurring expense with ⋯ → Edit.
- 2Under Agreement / Contract, click Upload New Version and choose the rental agreement or insurance policy. You'll see “Contract version uploaded”.
- 3When the contract changes, upload the new one the same way. The newest is marked Current; use Make Current to switch back to an older version.
- 4Back on the Recurring list, click View in the Agreement column to open the current contract.
If something doesn't work
“Give the recurring expense a name.”: fill in Name this recurring expense.
“Expense added, but the repeat could not be set up…”: the expense was saved, but the schedule wasn't. Click Try again in the same message.
No ⋯ button on a phone or tablet: it only appears when a mouse points at the row. Tap at the right end of the row where it sits.
Didn't appear on the due day? Check the row isn't Paused and look at Next run.